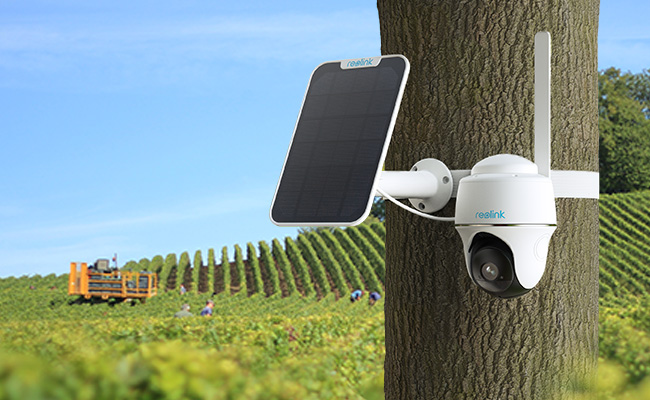
Are you ready to tap into the power of the sun for your home security? Solar cameras are a great way to monitor your space without worrying about electricity. Here is a simple guide to get you started.
Understanding Solar Cameras
Solar cameras use sunlight to work. They have solar panels. These turn sunlight into electricity. The battery inside stores this energy. It helps your camera work even when it’s dark.
Step 1: Choose the Perfect Spot
First, you need to pick where to put your camera. Think about these things:
- Sunlight: The spot should get lots of sunlight.
- Angle: High places are often best for cameras.
- View: Make sure it can see the area you want to watch.
Step 2: Install the Solar Panel
Now, let’s set up the solar panel. Here’s how:
- Use the screws given to fix the panel to your chosen spot.
- Adjust the angle towards the sun for the best results.
- Connect the panel’s cable to your camera (if they’re separate).
Step 3: Mount the Camera
After the solar panel, we’ll mount the camera. Follow these steps:
- Place the camera on the wall or pole facing the area you want to watch.
- Secure it with screws or mounts that came with your camera.
- Make sure it’s firmly in place to prevent it from falling.
Step 4: Connect to Your Network
Now, we’ll make the camera work with your internet. Keep these in mind:
- Wifi: Most solar cameras use wifi. Be close to your router.
- Password: Have your wifi password ready to connect.
You might need to download an app for your camera. Follow the app’s instructions to connect.
Step 5: Test Your Camera
Time to see if your camera works! Try these ideas:
- Walk in front of your camera to test the motion sensor.
- Check the live feed on your phone or computer.
Step 6: Configure Camera Settings
Now for the fun part! Let’s set the camera settings:
- Open your camera’s app on your device.
- Go to the settings menu to change things like:
- How sensitive the motion detector is.
- What kind of alerts you want to get.
- How the camera saves videos.
- Save your settings and you’re done!
Maintenance Tips
Your solar camera is all set! Just a few tips to keep it running well:
- Clean the solar panel often so it gets the most sun.
- Check the battery once in a while to make sure it’s good.
- Keep an eye on the camera’s lens. Clean it if it gets dirty.
